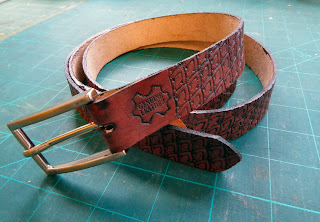
Making a belt
You can buy ready cut belt blanks or use a strap cutter to cut a suitable length. Buckles and keepers can be salvaged from old belts or you can buy new ones online and from Lyons Leather. The size of the buckle needs to be the same as the width of the belt blank. An inch and a quarter is a good size for jeans and an inch for smart trousers.
 It is helpful if you can measure an existing well fitting belt. Measure from the end of the buckle to the hole that is the best fit.
Add 7 inches (3 inches for the turn over on the buckle end and a minimum of 4 inches beyond the hole to the pointed end of the belt). This gives enough to tuck into belt loops on trousers.
The edges of the belt need to have the sharp corner rounded off with an edger on the back
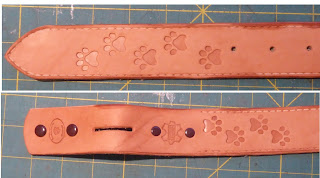
and front.The buckle end needs a slot cutting for the tang of the buckle to poke through. If you don't have a slot punch then two appropriately punched holes joined top and bottom by a cut will do the job.
you don't have one mark the centre point then use an old CD, lid or saucer to cut the 2 curves as shown.
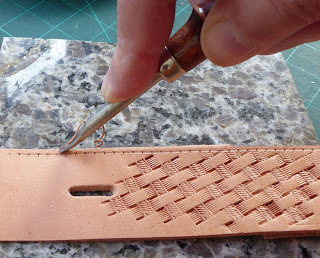
You can use faux stitching (see the blog on Faux Stitching and Basket Weaving on how to do this).
You can choose to decorate your belt by carving or stamping and dyeing but you it is wise to use packing tape to protect the back of the belt as without extreme care the dye will appear here. If you do dye the back of the belt you should finish with Supersheen or equivalent to prevent the dye transferring to your clothes. Aussie or beeswax is not recommended for the back of the belt.
The buckle end needs to be skivved down to reduce the thickness using a bench skivverA keeper is usually a loop of leather or metal used to stop the belt end flapping about as it exits the buckle. If you want a keeper cut a narrow strip of leather about a quarter of an inch to half an inch wide which is 4 times the width of the belt (for an inch and a quarter belt this is 5 inches). Skive both ends wrap loosely around the belt and stitch or stick the loop closed.
 Place the tang of the buckle through the slot and feed the belt end through the buckle. If you want a captive keeper put this in place first.
Burnish the edges of the belt (see the blog on Keyfobs for how to do this.)
Protect the front of your belt with either a wax based product like Aussie or Supersheen for a glossy finish.
There are lots of free belt designs on the Leathercraftlibrary.com here is one to get you started Leathercraft Library - New Belt Designs With Old Favorite Craftools by Jerry Jennings (Series 5D Page 5)


Comments
Post a Comment