Bits and pieces

projects. This week I will take a look at some of the things that you can use these bits and pieces for.

Turn it into these.
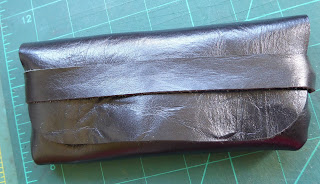
An earbud holder, bookmark, rings and a leather feather.

Using a large diameter hole punch cut out the three holes and then using a craft knife cut the slots to the outside edge.

Finally cut out a semi circular hole in the bottom edge of the two sides to hold the cable.

If you have used vegetable tanned tooling leather you can decorate it with your favourite stamps and dye it.

It is really important to cut two of the edges to an exact 90 degree corner. I have used a Japanese knife but you can use a craft knife and straight edge.

Sew the two pieces together.
If you have used a finished leather you could decorate it using a rubber stamp and permanent ink pad.
If you have used tooling leather you can stamp or carve it.

Leather rings are a good way to use up small strips of leather.
Wrap it around you finger with at least half an inch overlap.

Skive both ends of the leather to a "feather edge" once it has been cut to size.

contact adhesive (I used Uhu) and allow to dry. I put a pencil through the ring with the joint face down and placed a weight on the pencil to hold the ring in place while the glue dried.
You can glue other pieces of leather onto the ring as decoration or dye it.

Last small project is a leather feather. For this you will need a swivel knife and a feather tool.
Start by casing (wetting) your tooling leather.

Then cut the spine of the feather.
Then cut the outline of your feather.
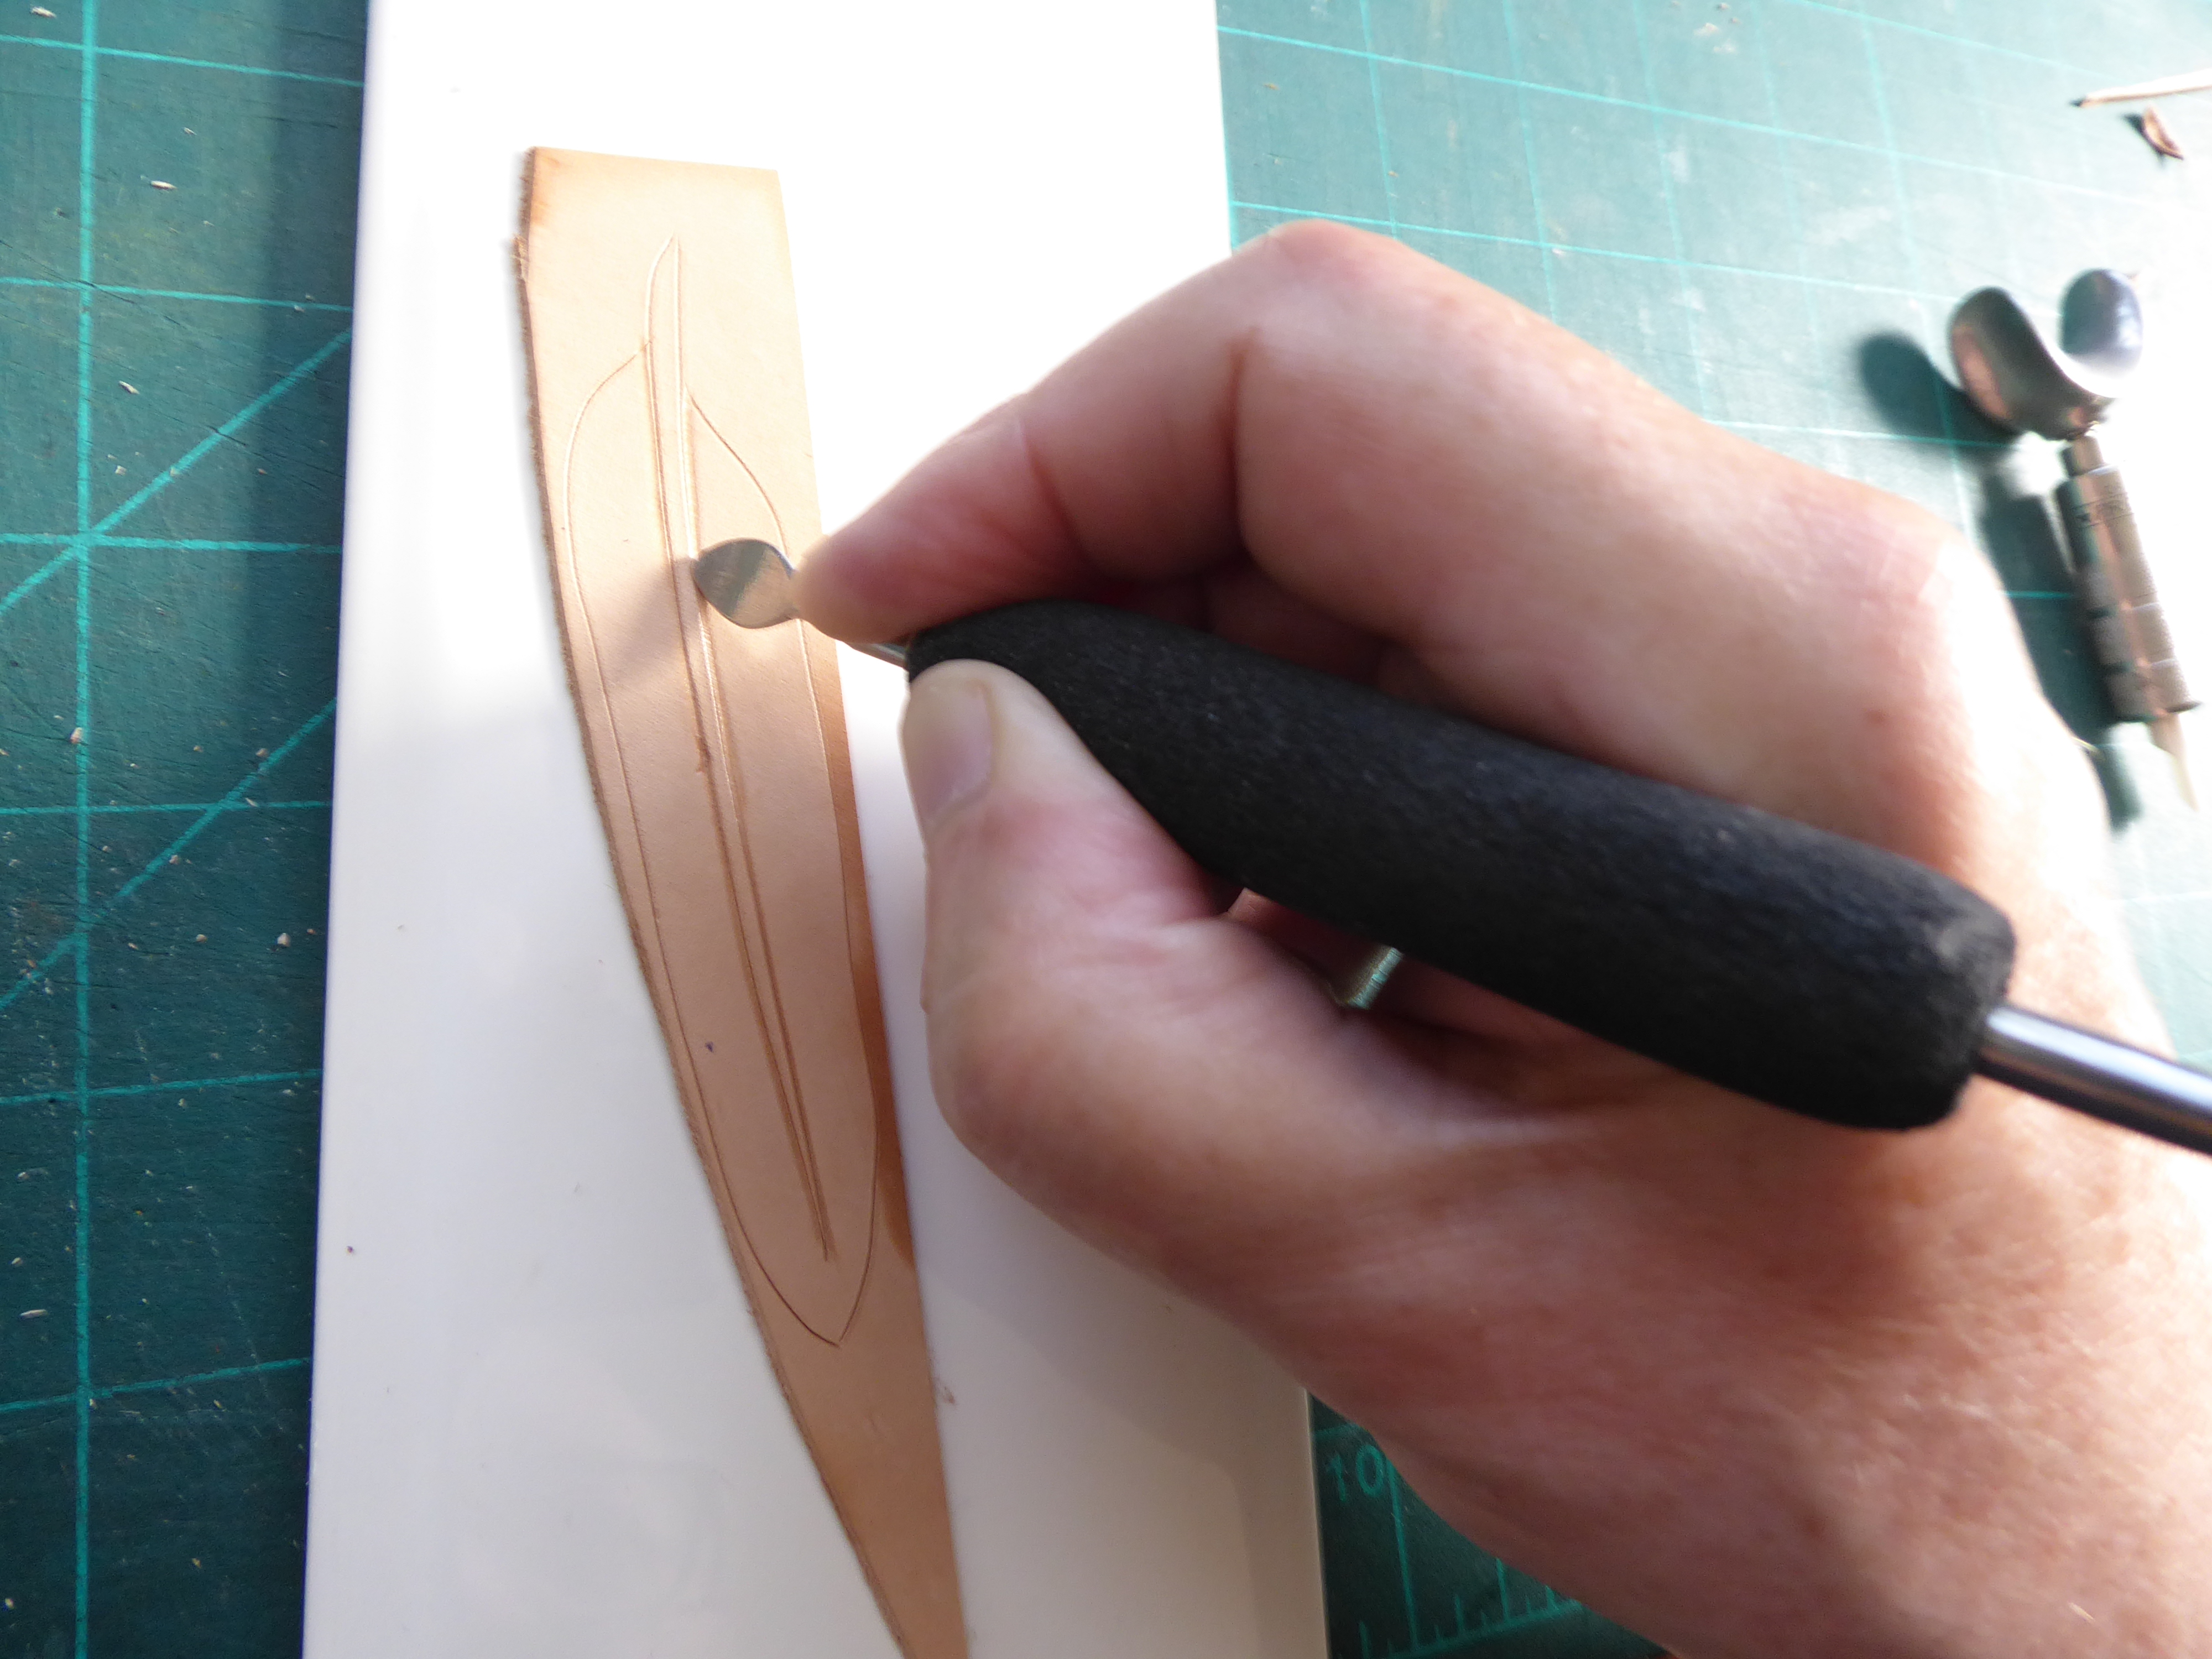

Use the feather tool which has a series of parallel ridges inscribed in the tip to mark lines at 45 degrees to the spine.......

..... so that it looks like this.
If you don't have access to this tool then lightly scribe the lines with your swivel knife or very lightly with a craft knife.

Flip the leather over so that it is flesh side up / grain side down and using a safety beveller
skive the edges of the feather down to a feather edge (didn't see that coming!) this is best done on a smooth hard surface like a sheet of glass, a granite block or in my case a ceramic tile.

Now cut out the shape of the feather with a craft knife.

I have cut a couple of strands at the bottom of the feather to resemble the downy fluff at the
base of the feather.
I have also made some cuts in the main body of the feather to duplicate the splits that you get in real feathers.
At this stage you can use dyes or acrylic paints to colour the feather or leave natural.

Keep any small shavings or off cuts as I hope to show you how even the smallest pieces of leather can be put to use.


Oh my goodness. Lovely work again Alan. And I thought I couldn't throw bits and pieces away ...
ReplyDeleteThanks Kelly. You never know when you might find a use for these things.
Delete