Luggage tags and make your own rubber stamps


A is the narrowest part of the tag
B is the width of the tag
And the distance from the narrowest part to the rounded end is the circumference of the tag.
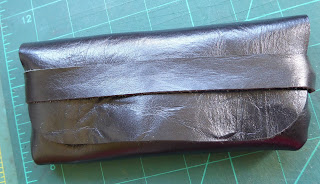
Start by cutting a piece of leather to whatever overall length you want. This piece was 9" long by 2" wide.

Measure A and B.
Now cut a T shaped slot towards the rounded (shorter) end of the tag as shown. The top of the T must equal your measurement of A and the upright of the T needs to equal B.

eraser.
I did these freehand using a Lino cutting tool. But I suggest drawing on your design with a Sharpie pen and then cutting carefully with a craft knife.


you are ready decorate your tag.

If you don't want to make your own lots of stamps are available to buy on eBay and have a
look in the remainder bin in places like Hobbycraft.


Comments
Post a Comment